Showing posts with label Kraft Food and Family magazine. Show all posts

Monday, September 24, 2012

Mmm ... Monday: Mini Meatloaf Cups

Lately I've been feeling like I'm stuck in a recipe rut; everything seems so been-there-done-that-just-last-week.  A lot of it is because of the whole low sodium diet thing; I am still struggling to find awesome low sodium recipes, and it's often a lot of work to turn one of my favorites into something that could be considered "low sodium".  But I'm working on it.

Anyhow, I was making a double batch of my mother-in-law's meatballs, when I thought of a recipe I had pulled out of Kraft Food & Family magazine back in 2008 for mini meatloaves.  I took another look at the recipe and realized it called for a whole box of Stove Top Stuffing Mix (a big sodium no-no), but I started to wonder if I could just use some of the meatball meat and turn it into mini meatloaves.  So I gave it a try.


I put Prego spaghetti sauce in the divot in the middle ...


... and added mozzarella cheese after baking them in the toaster oven for 30 minutes at 375 degrees Fahrenheit.  Five minutes later ...


Voila!  They tasted pretty good, but I didn't make the center divot nearly large enough to have enough sauce in the middle.  You couldn't taste the sauce very much, but it was a pretty good first try.

So, a day or two later, I made my usual meatloaf recipe (with one adjustment ... I no longer use garlic salt in it, for obvious reasons) and put them into twelve muffin cups instead of forming into a giant oval.  I then made the divots, only this time I made them as big as I could to accommodate the maximum amount of filling possible.  For four of them I made a barbecue sauce/diced tomato mixture for the filling, and for the rest I used plain ol' salsa (mild for Mollie and medium for Bryson).


After 30 minutes in the oven at 375 degrees Fahrenheit, I put Mexican cheese on six of the salsa loaves and sharp cheddar on the remaining salsa loaves and the barbecue loaves.  Then they went back in the oven for five minutes.


And the results ...


... delicious!  I will admit, they were a little greasier than regular meatloaf, likely because the grease has nowhere to go when the meatloaf is jammed into a muffin tin.  But they were oh so good!  I liked that I didn't have to add anything to it at the table, and they were super easy to serve.

The next time I make meatballs, I plan on giving the Italian version another try.  I have a feeling it could end up being my favorite.

Anyhow, check out the original recipe and see what you think.  Tweak it to your liking and see what amazing creations you can come up with!

Enjoy!

Sunday, January 9, 2011

Nilla Apple Crisp

Another recipe tonight ... weird, huh?  I had my parents and sister over for dinner, so I did a bit of cooking and baking today.  Food must be on my mind.

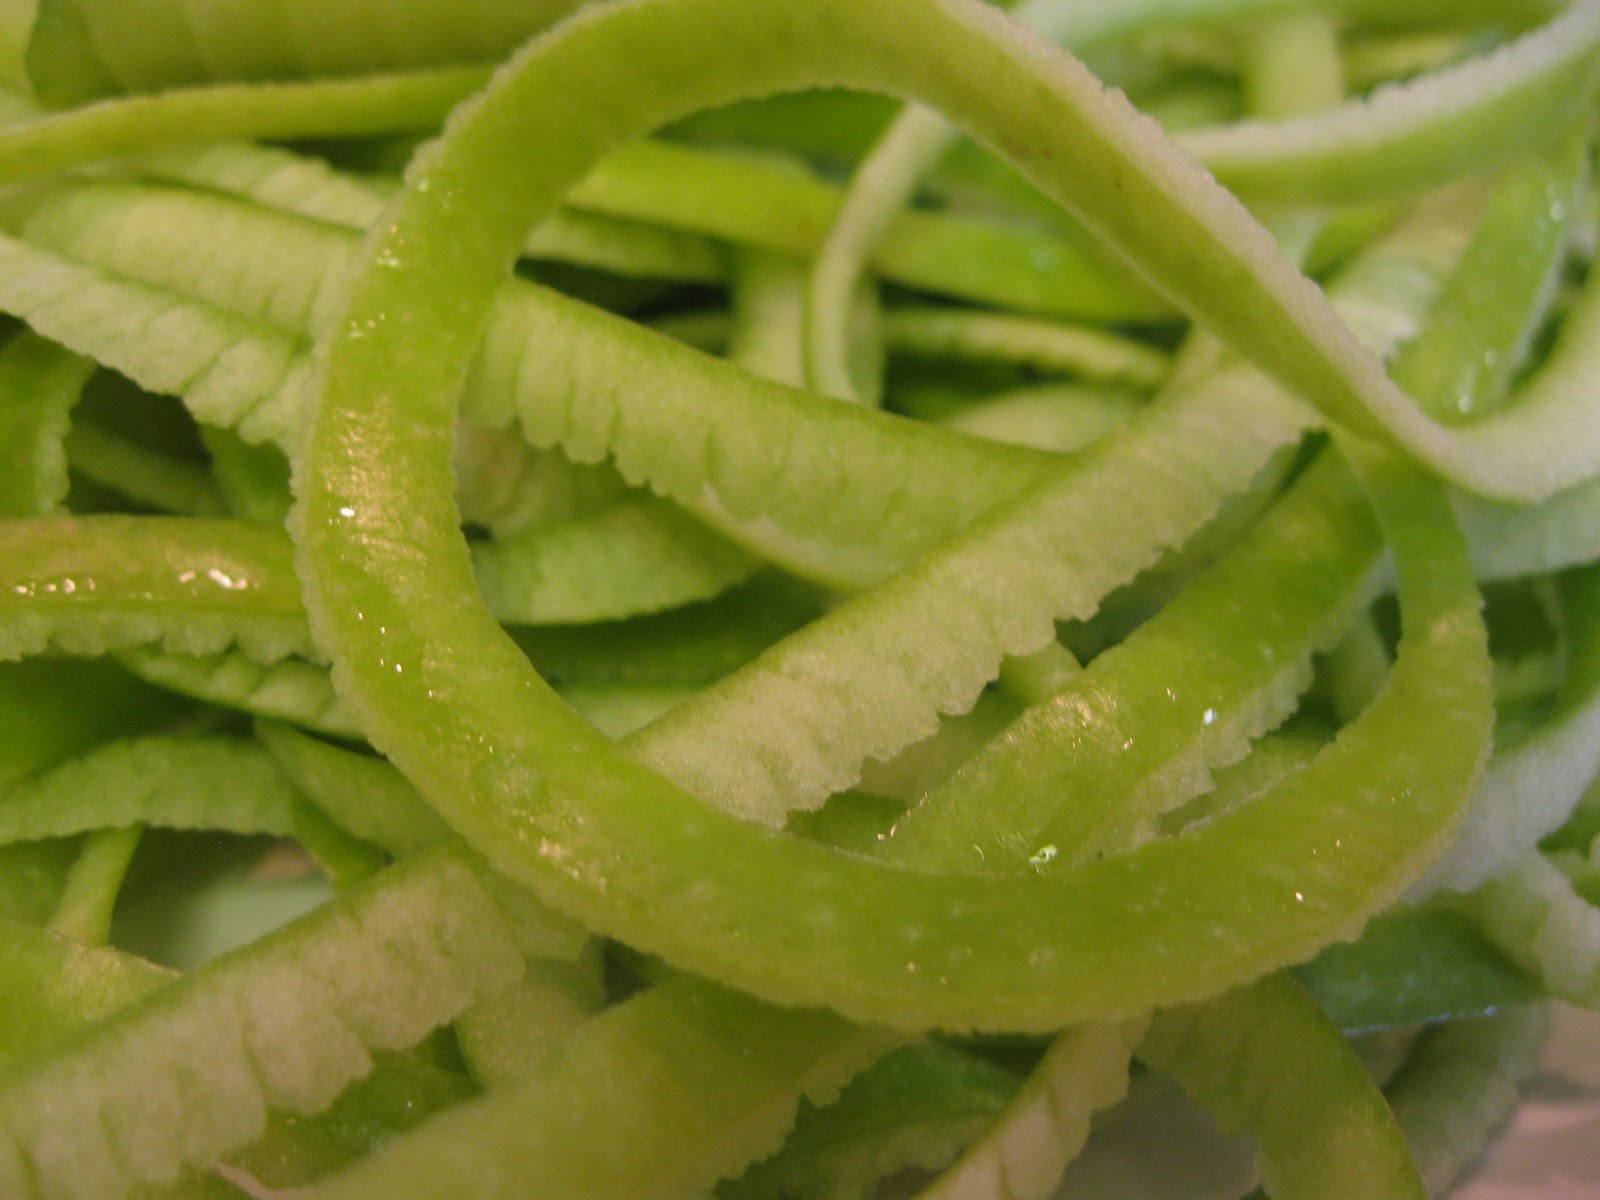
This one comes by way of Kraft Food & Family magazine, and I made it tonight for our dessert.  It was very easy, even easier because I have one of these handy dandy apple peeler corers and it made the dirty work a breeze.  And aren't the peeled apples beautiful?


Nilla Apple Crisp

8 cups thinly sliced peeled Granny Smith apples (about 4 large/2 lbs.)
1/2 cup firmly-packed brown sugar, divided
2 tsp. ground cinnamon, divided
1/3 cup old-fashioned or quick-cooking oats
1/4 cup cold margarine (I used butter and it tasted great)
25 Reduced-Fat Nilla Wafers, crushed  (about 1 cup crumbs)

Preheat oven to 350 degrees Fahrenheit.  Toss apples with 1/4 cup of the brown sugar and 1 tsp. of the cinnamon.  Spoon into 8- or 9-inch square baking dish.

Combine oats, the remaining 1/4 cup brown sugar and 1 tsp. cinnamon in medium bowl.  Cut in margarine/butter with pastry blender or two knives, until mixture resembles coarse crumbs.  Add wafer crumbs; mix well.  Spread crumb mixture evenly over apples.

Bake 30 to 35 minutes, or until apples are tender.  Serve warm or cooled.

You can serve this with whipped cream or ice cream.  And we felt like it would be best served on the warm side of things.

I hope you enjoy it as much as we did!

Monday, August 23, 2010

Mmm ... Monday BONUS: Savory Spinach-Artichoke Dip

I honestly cannot believe I haven't posted this before! This is my go-to recipe if I am ever asked to bring something to a gathering (and have the opportunity to bring something hot). It is perfectly delicious! And it comes from the Kraft Foods website ... here is the link if you'd like it. Otherwise ...

Savory Spinach-Artichoke Dip

1 can (14 oz.) artichoke hearts, drained, chopped (I usually put them through a food processor)
1 pkg. (10 oz.) frozen chopped spinach, thawed, well-drained
1 cup refrigerated Alfredo sauce (I usually use Buitoni)
1 cup Kraft shredded mozzarella cheese
1/3 cup Kraft grated Parmesan cheese (I used the reduced fat one)
4 cloves garlic, minced

Preheat the oven to 350 degrees Fahrenheit. Mix all ingredients until well blended. Spoon into 9-inch pie plate.

Bake 20 minutes or until lightly browned.

I personally like it with Reduced Fat Wheat Thins or tortilla chips, but you can dip all sorts of crackers, chips, and even pretzels in this! It is sooo good!

Enjoy!

Mmm ... Monday: Deep Dish Chicken Pot Pie

This recipe comes from the Kraft Food & Family magazine, and though my husband wasn't a fan of it, I thought it was delicious! It had a lot of flavor and is better for you than traditional chicken pot pie recipes.

Deep Dish Chicken Pot Pie

1 lb. boneless, skinless chicken breasts, cut into 1 inch pieces
1/4 cup Kraft Light Done Right! Zesty Italian Reduced Fat Dressing
4 oz. (1/2 of 8 oz. pkg.) Philadelphia Neufchatel Cheese, cubed
2 Tbsp. flour
1/2 cup fat-free reduced-sodium chicken broth
1 pkg. (10 oz.) frozen mixed vegetables, thawed
1 refrigerated pie crust (1/2 of 15-oz. pkg.)

Preheat the oven to 375 degrees Fahrenheit. Cook chicken in dressing in large skillet on medium heat 2 min. Add Neufchatel cheese, cook and stir until melted. Add flour, mix well. Add broth and vegetables, simmer 5 min.

Pour mixture into deep dish 10-inch pie plate. Arrange pie crust over filling; flute edges. Cut four slits in crust to allow steam to escape.

Bake 30 min. or until crust is golden brown.

Makes 6 servings.

I used a homemade pie crust instead of a store-bought one, but I'm sure it would taste just as good with a pre-made crust.

I hope you enjoy this as much as I did! Have a wonderful Monday!

Monday, December 7, 2009

Mmm ... Monday: Smarter Fettuccine Alfredo

This recipe comes by way of the Kraft Food and Family Magazine. I made it last week, and both my husband and I were pleasantly surprised at how creamy and tasty the sauce is. So much so, in fact, he has requested I make it again this week! Whoa. (For those of you who don't know him as well/at all, my husband is a total Mexican food fan and typically shies away from all things pasta.) So here is the recipe ... check out my notes afterwards for some of the tweaks we plan on making to it!

Smarter Fettuccine Alfredo

8 oz. fettuccine, uncooked
1 1/4 cups fat-free reduced-sodium chicken broth
4 tsp. flour
1/3 cup Philadelphia Light Cream Cheese Spread
3 Tbsp. Kraft 100% Grated Parmesan Cheese, divided
1/4 tsp. nutmeg
1/8 tsp. pepper
2 Tbsp. chopped fresh parsley

Cook pasta as directed on package.

Meanwhile, combine broth and flour in medium saucepan. Stir in cream cheese spread, 2 Tbsp. of the Parmesan cheese, the nutmeg and pepper; cook 2 min., stirring constantly with wire whisk until mixture boils and thickens.

Drain pasta. Toss with sauce. Sprinkle with remaining Parmesan cheese and parsley.

Jazz it up: Garlic lovers can add 1/8 tsp. garlic powder.

Makes 4 servings, 1 cup each.

My notes:

This actually serves two people perfectly, no need for leftovers. Obviously you could double or triple it if you have more people to serve.

We weren't fans of the nutmeg; it kind of overpowered the whole dish and seemed like something that should be left to eggnog. When I make it this week, I am going to leave out the nutmeg and add more garlic, as we are garlic lovers at this house.

I left out the parsley - didn't want to have to buy fresh stuff - and we didn't miss it.

Ooh, and Baylor loved it! He thought it was cheese so he called it as such, but he kept asking for more! It was so cute! He was a giant mess afterwards.

Anyhow, I hope you like it! Enjoy!

Friday, November 20, 2009

Friday Dinner: Layered Mexican Bake

Tonight for dinner I made something new out of the Kraft Food and Family magazine. It is called "Layered Mexican Bake" - not the most original title, mind you, but you pretty much know what you're getting when you hear it. So here's the recipe ... I have to say, it was delicious and overall pretty easy to make. Plus, you just know how I love casseroles!

Layered Mexican Bake

Prep: 20 min. Total: 50 min. Makes 4 servings

3/4 lb. extra-lean ground beef
1 onion, chopped (I used a large yellow onion)
1 green pepper, chopped (I used a smaller-sized one)
2 tsp. chili powder
1 1/4 cups chunky salsa (I used a mild generic brand salsa)
1 pkg. (10 oz.) frozen corn
3 high-fiber whole wheat tortillas (8 inch)
1/2 cup reduced fat sour cream
3/4 cup Kraft 2% Milk Shredded Sharp Cheddar Cheese, divided (I used mild cheddar)

Heat oven to 375 degrees Fahrenheit.

Brown meat with onions and peppers in large skillet on medium-high heat. Stir in chili powder; cook 1 min. Add salsa and corn; mix well. Simmer 5 min.

Spread 1 cup meat sauce onto bottom of 8- or 9-inch square baking dish; top with layers of 1 tortilla, 1/2 cup meat sauce, sour cream and 1/4 cup cheese. Cover with 1 tortilla, 1 cup of remaining meat sauce and 1/4 cup of remaining cheese; top with remaining tortilla and meat sauce. Cover with foil.

Bake 25 min. or until casserole is heated through. Top with remaining cheese (I just made sure it was good and covered - no measuring required); bake, uncovered, 5 min. or until melted.

They say to garnish it with chopped cilantro and green onions just before serving, but I didn't feel like getting green onions and my husband doesn't like cilantro.

Here's what it looked like:


My husband helped himself to seconds and thirds he liked it so much. And it looks like they were about right calling this about 4 servings; you just never know with some recipes.
I highly recommend it!

Wednesday, November 18, 2009

One Year Blogging: Simple & Creamy Tortellini Alfredo recipe

In honor of my first full year of blogging, I thought I'd try to write a few extra posts today and share with you some of the things I've recently decided I love. Here's a meal we had the other night that was surprisingly wonderful. I forgot to take a picture, but if you guys really want to see it I'll either try to take one the next time I make it or take one of the leftovers sitting in our fridge.

Simple & Creamy Tortellini Alfredo

Prep: 5 min. Total: 30 min.

1 can (14.5 oz) fat-free reduced-sodium chicken broth
1 cup water
2 pkg. (9 oz each) refrigerated cheese tortellini*
4 oz. (1/2 of 8-oz. pkg.) Philadelphia Cream Cheese, cubed
1 cup frozen peas
3/4 cup Kraft Finely Shredded Italian Five Cheese Blend
6 slices Oscar Mayer Bacon, cooked, drained, and crumbled

Pour broth and water into large sauce pan; stir. Bring to boil on medium-high heat. Add tortellini. Reduce heat to medium-low; cover. Simmer 8 to 9 min. or until tortellini is tender. (Do not drain.)

Add cream cheese and peas; stir. Heat 2 or 3 min. or until cream cheese is completely melted, stirring occasionally.

Stir in shredded cheese and bacon.

Makes 6 servings, 1 cup each.

* I used frozen tortellini and cooked it ahead of time for half the amount of time it called for, cooking it the rest of the way as if it were the refrigerated tortellini the recipe calls for.

Now, one thing about this recipe is that the sauce is a smidge on the runny side. I didn't mind it so much, but my husband thought it could be thicker. Next time I might take his suggestion and leave out the cup of water and see what happens. Or I could add more cream cheese. I also think I might sprinkle in the cheese more slowly (instead of dumping it all in at once) as there tended to be clumps of cheese here and there.

Also, I don't personally like bacon so I left it out of my portion. The bacon, however, was how I got my husband to eat this as he generally hates peas and dislikes tortellini most of the time. He still liked it and thought I should make it again.

This is a really good and kind of unusual dish. I highly recommend it!

Oh, and I got it from the Kraft Food and Family Magazine, but I couldn't find it on their site so I don't quite know what is up with that. Anyhow, enjoy!

Monday, May 18, 2009

Mmm ... Monday: So-Easy Spaghetti Bolognese and Zesty Beef Chili

Sorry about not posting any recipes last week. I remember promising two recipes this week if I neglected my blogging duties ... so here they are! The best part? They are double-duty dishes!

I'll explain. Kraft Food and Family magazine did a spread on dishes you can make one night and then basically repurpose for another meal, another night. How fantastic is that?! So here is a pair of recipes that we enjoyed (immensely) last week.

Day 1: So-Easy Spaghetti Bolognese

4 oz. spaghetti, uncooked
1/2 lb. lean ground beef
1 cup chopped onions
2 cloves garlic, minced
1 cup (1/2 of 14.5 oz can) Italian-style stewed tomatoes, undrained
2 Tbsp. tomato paste
2 Tbsp. Kraft Zesty Italian Dressing
1/4 cup Kraft 100% Parmesan Grated Cheese

Cook pasta as directed on package.

Meanwhile combine meat, onions, and garlic in large nonstick skillet; cook on medium heat 5 min., or until onions are crisp-tender, stirring frequently. Stir in tomatoes, tomato paste, and dressing. Bring to boil; cover. Reduce heat to medium-low; simmer 5 min. or until heated through, stirring occasionally.

Drain pasta; place in large serving bowl. Add meat sauce; mix lightly. Sprinkle with the cheese.

Makes 2 servings, 2 cups each.

Plan ahead for day 2! Cook pasta and prepare meat sauce as directed, doubling all ingredients except the pasta and cheese. Remove half of the meat sauce; refrigerate overnight. Continue with the main recipe and serve as directed.


Day 2: Zesty Beef Chili

Spoon leftover meat sauce into medium saucepan; stir in 1 can (15 oz.) kidney beans, drained; 1/2 cup Taco Bell Home Originals Thick N' Chunky salsa, and 1 Tbsp. chili powder. Cook and stir until heated through. Top evenly with 1/4 cup Kraft Mexican Style Shredded Four Cheese.

Makes 2 servings, 2 cups each.

Monday, March 16, 2009

Mmm ... Monday: Sausage and Tomato Rigatoni

Hello, everyone! (I like saying that ... like tons of people read this. Wishful thinking.) Yup, it's Monday again so time for another installment of Mmm ... Monday.

This recipe comes from the Kraft Food and Family magazine. We had it last night and it is wicked good. Hope you enjoy it!

Sausage and Tomato Rigatoni

4 cups rigatoni pasta (8 oz.) uncooked
1 lb. Italian sausage, cut into chunks
1 medium red onion, sliced
1/4 cup tomato paste
1/4 cup Kraft Sun-Dried Tomato Vinaigrette Dressing
1/4 cup chopped fresh parsley
1/4 cup Kraft 100% Grated Parmesan Cheese

Cook pasta as directed on package. (Might want to delay this a bit until you have the meat browned.)

Meanwhile, brown sausage in large nonstick skillet; drain. Stir in onions and tomato paste; cover. Cook 15 minutes or until onions are tender and sausage is cooked through (170 degrees F), stirring occasionally. Stir in dressing.

Toss sausage mixture with pasta. Sprinkle with parsley and cheese.

Makes 4 servings, about 2 cups each. (Though we ate all but enough for my husband to take a bit of the leftovers today for a good lunch.)